Setting up color swatches as product variations (video tutorial)
Compatible theme versions:
- ShowTime (version 7.0 and later)
- Galleria (version 3.0 and later)
- Pursuit (all versions)
- Multi (all versions)
- Nova (all versions)
Note that all our theme versions support swatches as product options, but only the versions mentioned above support them in locations such as within collection filters and in the collection grid.
All of our themes support the ability to show color product variants as either color swatches or small images in multiple places throughout the theme, including product pages, within collection filtering, in quick view popups, and elsewhere. Setting up these options varies a bit from theme to theme, so we'll describe how to set them up for each theme here.
In this article
Video tutorial (ShowTime, Pursuit, and Galleria only)
If you're a visual learner, you may appreciate this short tutorial video we've created that shows you around the swatch options that come with our ShowTime, Pursuit, and Galleria themes.
What is a color swatch?
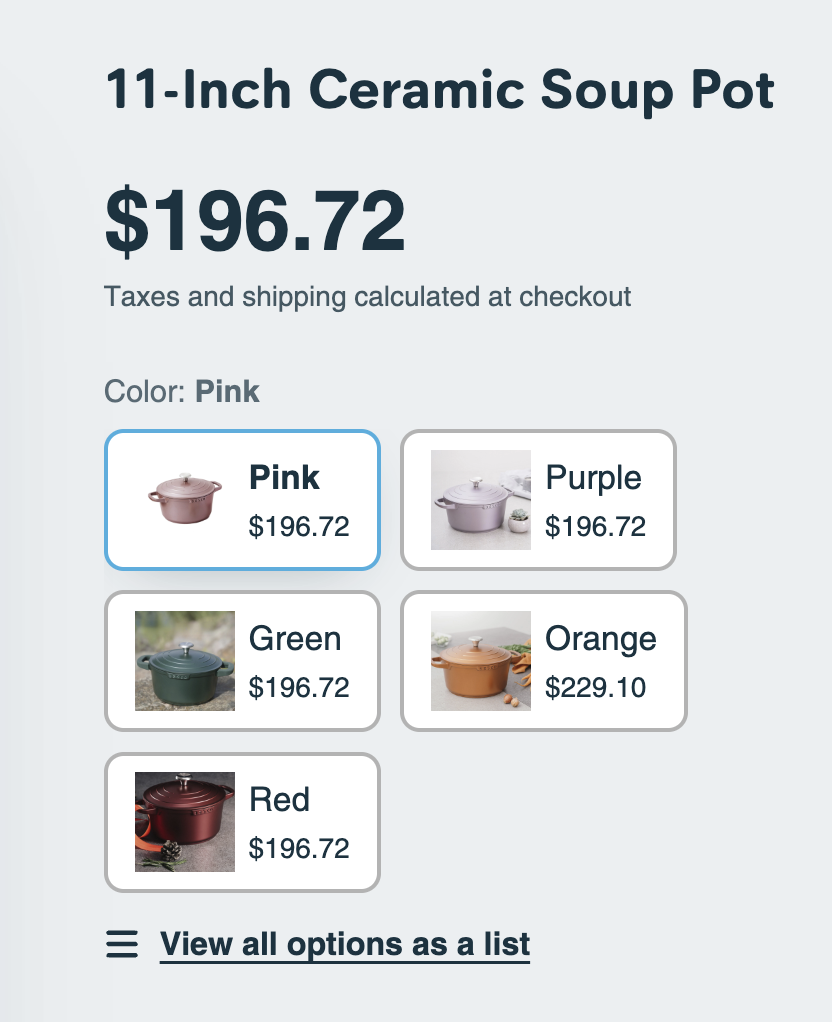
A color swatch is just a different visual representation of a color option for your products. For example, if you sell shirts that come in multiple colors, instead of a customer choosing a color from a drop-down list of text-based color names, they can see a visual representation of the color in a small box, button, circle, or image. These colors can just be solid colors, or you can upload your own custom images for them.
How are color swatches populated?
For the color options you have for your products, you can either let the theme attempt to choose a suitable color swatch for you, or you can upload a small image that represents that color. If you elect not to upload images for the colors, the theme will attempt to show a relevant color automatically based on the name. For example, if you have simple color options for your products like blue, red, and yellow, the theme will change the color swatches to the default CSS colors for these names. You can see a reference of all built-in colors that CSS supports by default here.
The default color displays are fairly generic and may not match the colors of your products very well. In addition, if your colors have non-CSS supported names, the theme will not be able to select an appropriate color for you if one doesn't exist. For example, if one of your products comes in the color "Granite," the theme will not know what color to assign to it because that is not a supported CSS color name. In this case, the swatch will just show as an empty white box. In this case, it's best to upload your own swatch images.
Uploading your own swatches
To use your own swatches, you need to upload an image that is approximately 80x80 pixels in size. It must be in .png format and must follow a strict naming convention. The image must be named after the color option and must be all lowercase with hyphens replacing spaces.
For example, if you have a color called "Déjà Vu Blue," then name your image deja-vu-blue.png
Another example, if your color is "Blue/Gray," then name your image blue-gray.png.
Most simple example, if your color is 'Black', then name your image black.png.
To upload your swatch images, follow these instructions:
If you are using ShowTime version 6.2 or later, Galleria 2.0.3 or later, or any version of Pursuit:
- 1
- Login to your Shopify dashboard and click on Content > Files link in the left navigation
- 2
- Click the Upload files button in the upper-right corner of the screen
- 3
- You can upload images one at a time, or add multiple files at once by holding the Control key (PC) or CMD key (Mac) as you select files on your computer
If you are using ShowTime version 6.1.4 or Galleria 2.0.2 or older:
- 1
- Login to your Shopify dashboard and click on Sales Channels > Online Store > Themes link in the left navigation
- 2
- You will see you published theme at the top of the page
- 3
- Click the ... button and then Edit Code
- 4
- You are now in the template editor. Locate and click on the Assets folder on the left to reveal its contents
- 5
- Click on the + Add a new asset link
- 6
- Upload your images
- 7
- Repeat steps 5 and 6 until you have uploaded all your images
Assuming you have done all this correctly, your color swatches will be automatically replaced with your custom swatches on your product pages and quick view popups.
If you are using the Nova theme:
The Nova theme uses native swatch functionality that Shopify released recently. You can learn how to setup swatches by following this guide: https://help.shopify.com/en/manual/custom-data/metafields/category-metafields/using-category-metafields
If you are using the Multi theme:
- 1
- Login to your Shopify dashboard and click on Content > Metaobjects link in the left navigation
- 2
- Click Add definition
- 3
- In the Name field, type Theme color swatches
- 4
- In the Fields area, you'll need to add three fields: one called Label, which should be single line text, one called Color, which should be a Color option, and one called Image, which should be an Image.
- 5
- Once that's done, go back to Content > Metaobjects again and click on the Add entry button to populate your swatches.
- 6
- Fill in the color option name in the Label field, choose a custom color in the Color field, and (optionally) add a custom image for the color
- 7
- Repeat step 6 until you have added all your custom swatch colors or images
Assuming you have done all this correctly, your color swatches will be automatically replaced with your custom swatches on your product pages and quick view popups.
Enabling color swatches in your theme
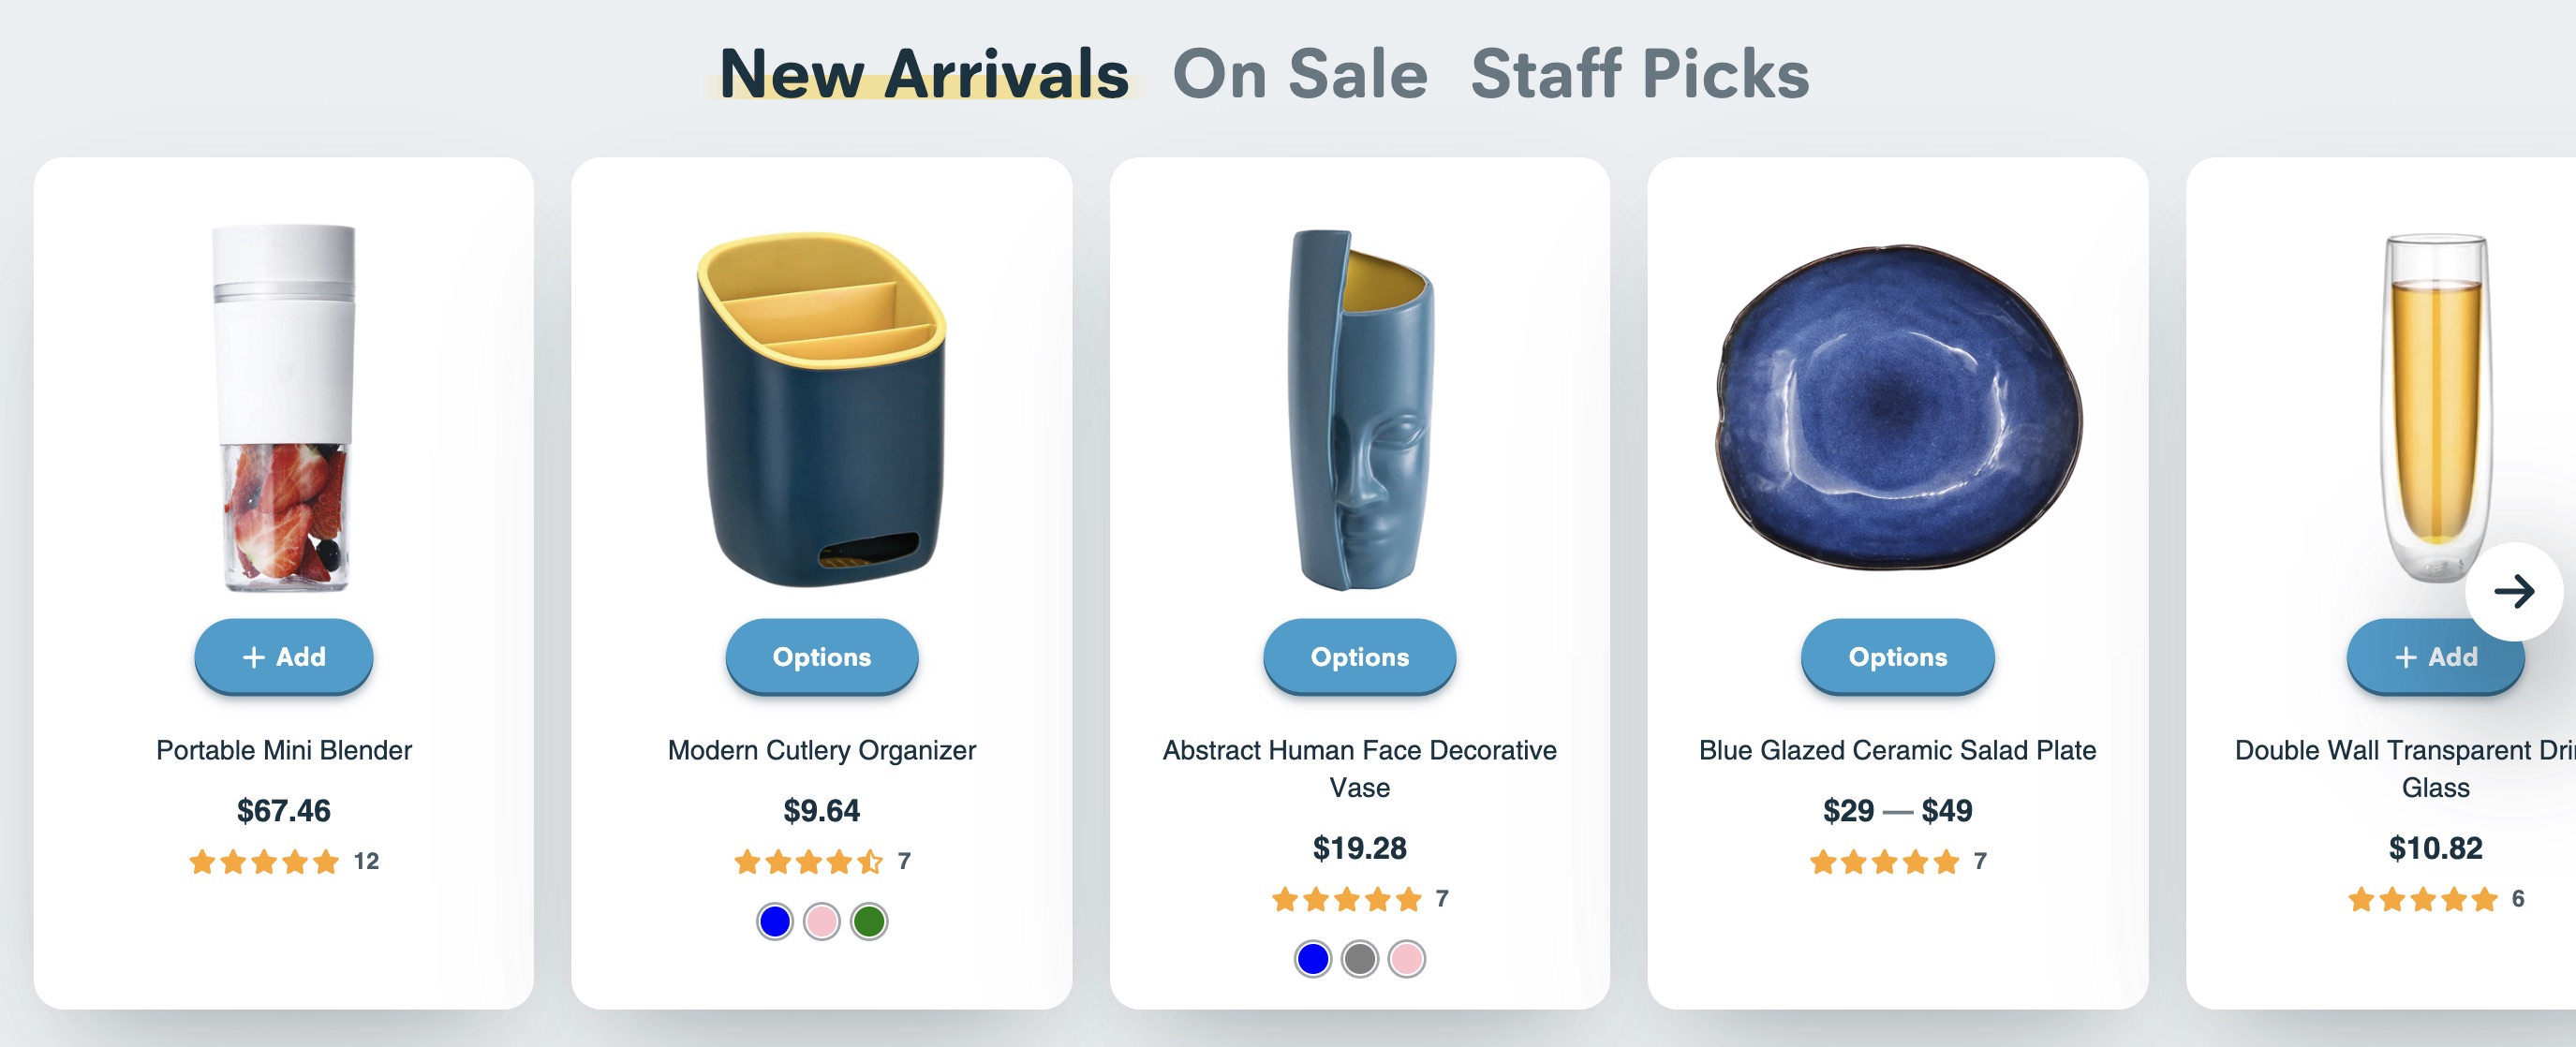
Swatches can be enabled in multiple locations of our themes. These include:
- On product pages
- On the featured product section
- In product quick view popups
- On the collection grid (including collection pages, featured products, product recommendations, etc.)
- In collection and search filters
You can enable swatches for each of these areas individually. The product page (Variant selector or Variant picker block) and collection page settings, the section settings for individual sections, and also in the global "Theme settings" area (gear icon in the upper-left corner of your theme customizer) under the Product grid or Color swatches headings.
A note about stores in languages other than English
In order for the custom color swatches to appear, the theme code looks for the word "color" or "colour" within a product option in order to know that it should display the swatches. If your store is translated in another language (or you're just using a name other than "color" or "colour" for your color options), our themes have options in the "Theme settings" area of the theme customizer to provide a list of product option names that should show as swatches. If you're using an older version of some of our themes, you'll need to update the code in your theme to look for these options names instead. Please contact us for advice on how to do this.
Additionally, if you are using the Translate & Adapt app by Shopify in the newer versions of the theme, you will need to translate the custom swatches into each of your store's languages from within the app.